The most expensive mistake in software development isn't a bad line of code. It's building the wrong thing.
A prototype is how you avoid that. It's a testable version of your product idea — good enough to get real feedback, not so finished that changing it hurts. Done well, a prototype compresses months of "we'll figure it out when we build it" into a few weeks of learning before a line of production code is written.
Here's how to approach it.
What is a Prototype?
A prototype is a working model of your product — or part of it. Not a finished product. Not a mockup you present to stakeholders and never touch again. Something testable.
There are three levels:
Low-fidelity: Sketches, rough wireframes. The goal is structure — what goes where, what the core flows are. Tools: pen and paper, Balsamiq, FigJam.
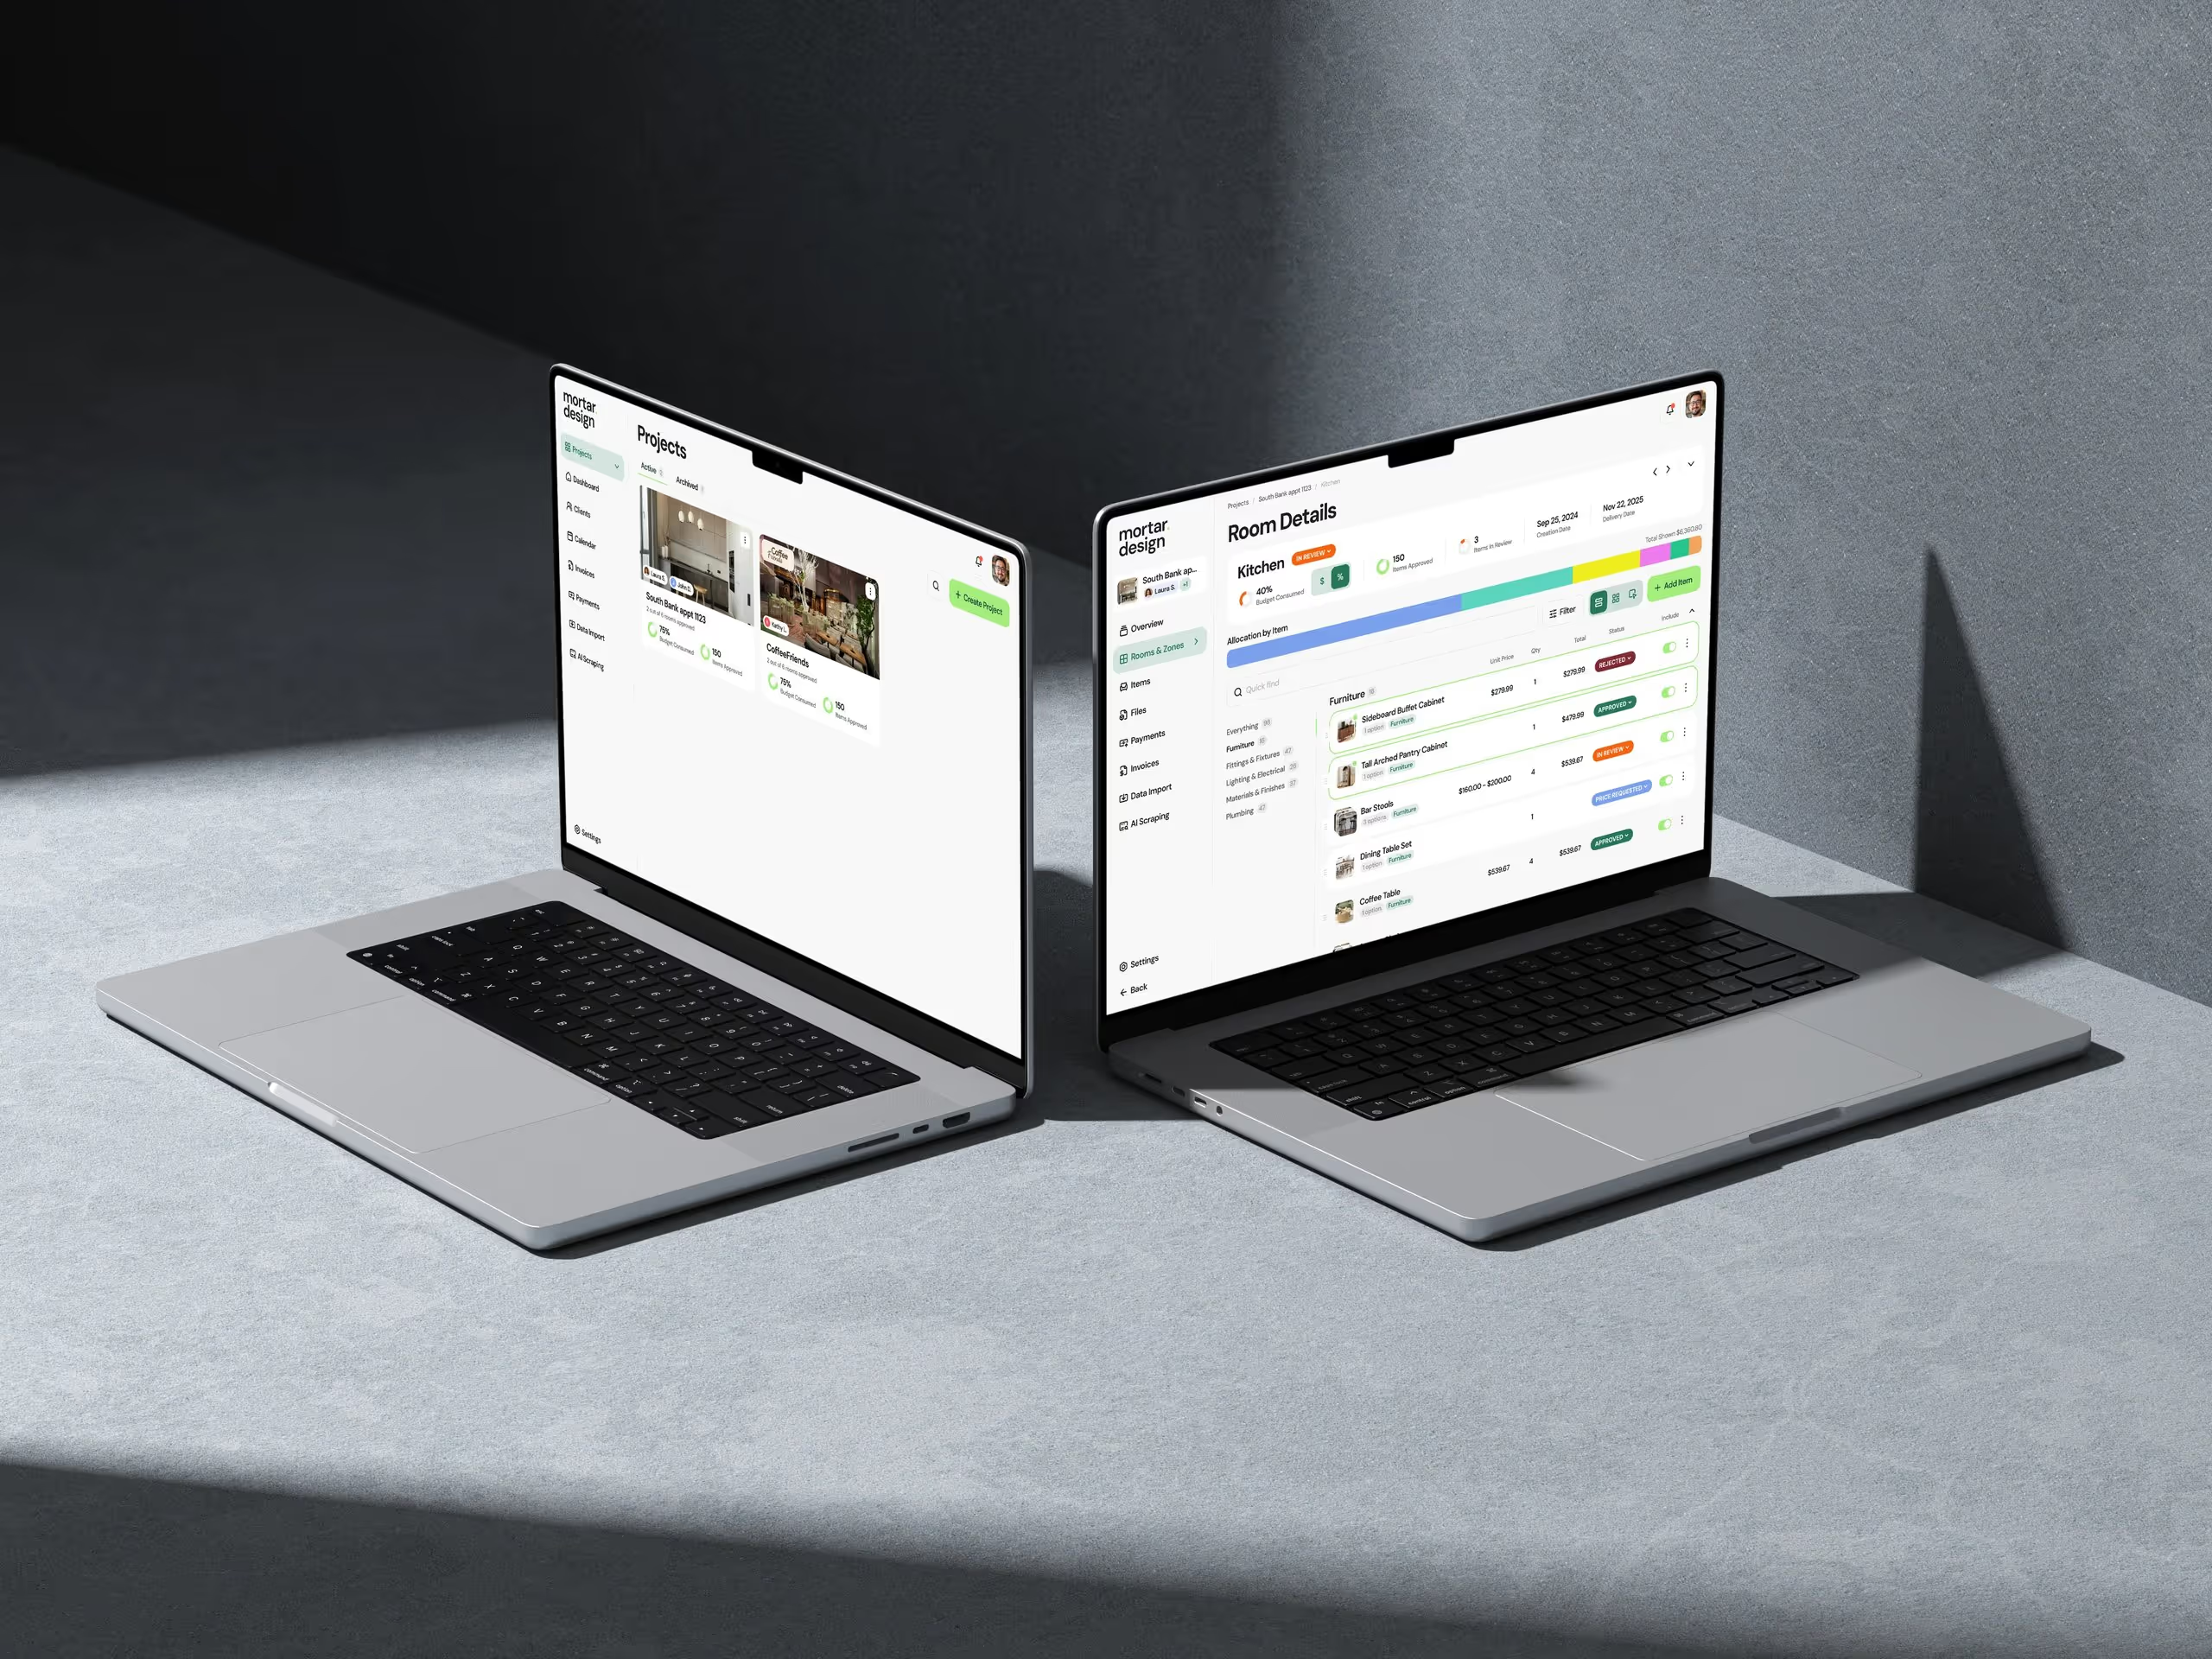
Medium-fidelity: Clickable wireframes. You can navigate between screens, simulate user flows. Not visually polished but functional enough to test. Tools: Figma, Adobe XD.
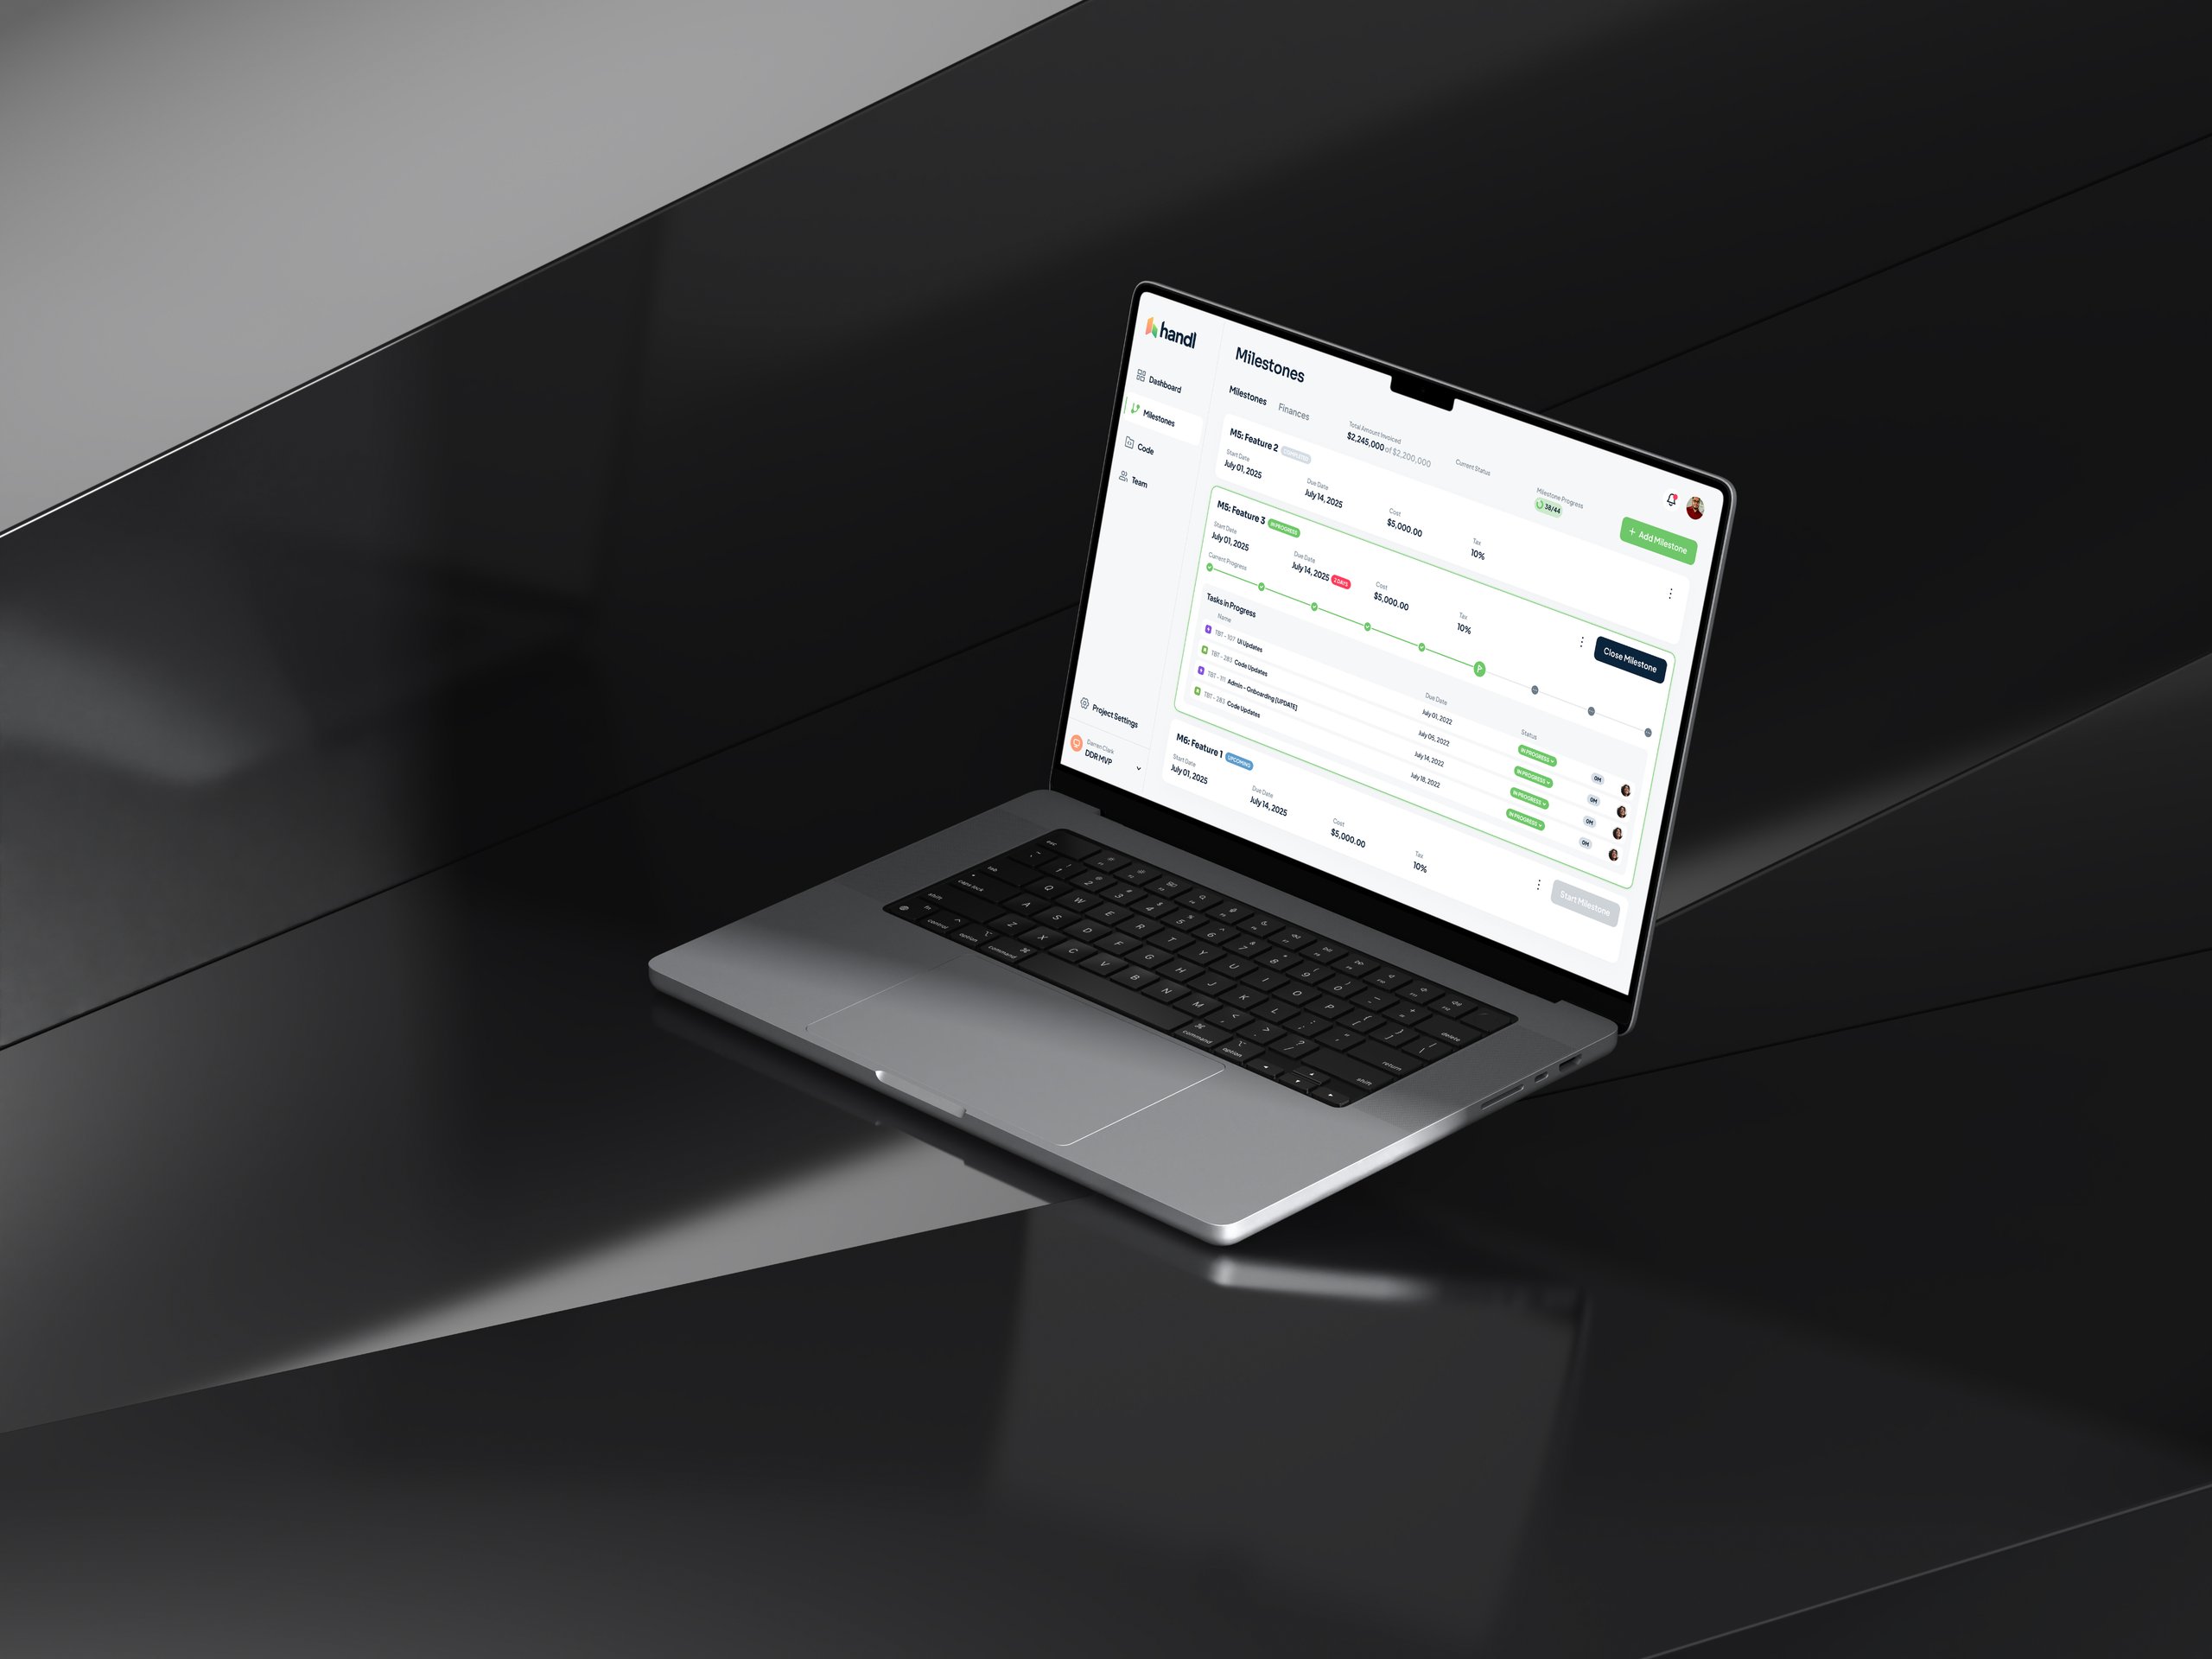
High-fidelity: Looks and feels close to the final product. Interactions, animations, real content. Used for stakeholder sign-off or user testing before development begins. Tools: Figma, Framer.
You don't always need to go to high-fidelity. Many products have launched after a medium-fidelity prototype that was good enough to validate the core idea. The goal is to learn, not to produce a beautiful artefact.
Why Prototype Before You Build
The math is simple. A change in a prototype takes hours. The same change in a built product takes days or weeks, and often requires undoing work that's already been done.
Beyond cost, prototyping forces clarity. When you actually try to design a flow, you discover the edge cases, the unanswered questions, the assumptions everyone made in different ways. Better to find those in Figma than in code review.
Specific benefits:
Stakeholder alignment. When everyone can click through a prototype, disagreements surface early. "I thought it worked like X" conversations happen before they cause production rework.
Better user research. You can put a prototype in front of real users and watch what they do. This is infinitely more useful than asking people what they think they'd want from a description.
Fewer scope surprises. A prototype is a concrete spec. Development estimates become more accurate. Scope creep gets harder to sneak in.
Faster developer handoff. A high-fidelity prototype with documented interactions gives developers something clear to build from, not a spec document full of ambiguity.
The Process: Seven Steps
1. Understand Your Users
Before drawing a single screen, know who you're designing for. What are they trying to do? What's getting in their way right now? What do they hate about how they currently solve this problem?
This doesn't need to be a six-month research project. Five to ten user interviews will surface patterns. Run a survey if you have an existing audience. The point is: your prototype should reflect real user needs, not your assumptions about them.
2. Define Objectives and Scope
What does this prototype need to prove? That the core flow works? That users understand the value proposition? That a specific feature is usable?
Be specific. "We're prototyping the onboarding flow to test whether new users can create their first project without help" is a useful objective. "We're prototyping the app" is not.
3. Start Low
Don't open Figma first. Sketch on paper. Get the basic structure down: what are the main screens? What's the navigation? What's the primary action on each screen?
Low-fidelity is fast. You can throw away and redo a paper sketch in five minutes. That's exactly what you want at this stage.
4. Iterate and Refine
Share your low-fidelity version with your team. Get pushback early. Then move to medium-fidelity and repeat. The goal is multiple rounds of feedback — each one improving the design — before you invest in high-fidelity work.
Don't get attached to early designs. The willingness to throw things away is what makes prototyping valuable.
5. Progress to High-Fidelity (When Needed)
Once the structure and flows are solid, move to high-fidelity. Add real content, proper visual design, actual interactions. This is what you'll use for final stakeholder sign-off and pre-development user testing.
If your product is early-stage, consider whether you actually need high-fidelity before building. Sometimes medium-fidelity is enough to start.
6. Test With Real Users
Put the prototype in front of real people. Watch them use it. Don't guide them — give them a task and observe. You'll see immediately where they get confused, where they hesitate, where the design doesn't match their mental model.
Usability testing at this stage is cheap. Usability testing after you've built it is expensive.
7. Hand Off to Development
When the prototype is approved, document it properly. Annotate flows, note edge cases, export assets. A developer looking at a well-documented Figma file should be able to build without needing five follow-up conversations.
Real Example: Tangilla
Tangilla is an association management system built specifically for REALTOR® Associations in the US. The existing tools in that market were outdated, clunky, and painful to use — a clear gap worth filling.
Before writing a line of code, we ran a full prototyping process with the Tangilla team. We translated their knowledge of the industry and the pain points they'd observed into user journeys, wireframes, and interactive designs. We tested these with target users, refined based on feedback, and built a design system that would let them ship new features quickly post-launch.
The prototype landed their first customer before the product was built. That's the outcome you're aiming for.
A Note on AI and Prototyping
The tooling around prototyping has shifted significantly. AI-assisted design tools can now generate layout variations, suggest component structures, and automate some of the lower-value work in the process. Tools like Figma's AI features, Relume for wireframes, and various component generators have made the low-to-medium-fidelity stage faster.
That's a good thing. It means more time for the thinking — user research, flow decisions, testing — rather than pixel-pushing. Use the tools, but don't let them skip the process.
The Bottom Line
A prototype isn't optional if you care about building the right thing. It's the cheapest way to validate your ideas, align your team, and give development a clear target.
Start low, test early, iterate fast. By the time you hand something to a developer, you should be confident it's worth building.
If you want a second opinion on your prototype or help working through a complex product flow, get in touch.

Dazlab is a Product Studio_
Our products come first. Consulting comes second. Whichever path you take, you’ll see how a small team can deliver outsized results.